Combat
Combat is a general term for hostile encounters of a hero while wandering on adventure map. Combat takes place typically when a hero attacks wandering creatures, enemy heroes, enemy towns or certain adventure map locations (e.g. creature banks). A hero may also face combat if trying to pick up guarded artifacts or resources. Occasionally an event can trigger combat.
The purpose of the combat is to vanquish all enemy creatures, and the combat ends when either one of the armies are entirely destroyed, or when one of the heroes retreats or surrenders. Only heroes may retreat or surrender - wandering creatures, creatures guarding something or creatures in events cannot retreat or surrender. Wandering creatures may try to flee before the battle, but never during combat. Surrendering may occur only in a battle between heroes, but a hero defending a town cannot surrender (or flee). However, Stronghold has a unique building called Escape Tunnel, which allows defending hero to retreat (but not surrender).
Combat takes place on the battlefield, that is 11 rows of 15 hexagonal frames (hexes). Because size of most the creatures is one hex, a creature with speed of 13 can traverse across the battlefield to attack another creature stack directly opposite to that creature. Additionally, a creature with a speed of 19 can traverse diagonally from one corner to its opposite corner.
Order in Combat[edit | edit source]
Combat proceeds in rounds. Each hero can cast one spell each round. Each round is divided into three phases:
- Initial & defend
- Morale & wait
- Wait
These three phases occur every round in this chronological order. In the initial phase, all creatures move in order determined by their speed. The creature with the highest speed value moves first. If two or more creatures on different sides of engaging armies have the same speed value, the creature on the army which did not have the latest chance to act will act first. And if it is the beginning of the battle, the attacker will have the initiative.
A creature may wait during the initial phase, in which case the creature moves instead during the wait phase. However, due high morale a creature may receive another chance to move right after the initial move. In this case, if the creature waits it will move again during the morale & wait phase (before the wait phase). In contrast to the initial phase, creatures in the morale & wait and wait phases move in reverse order, slowest speed value first.
A creature may defend during the initial phase, their extra morale phase, or their wait phase. Doing so grants them a 20% bonus to their defense rating (after bonuses and spell effects) and skips the rest of their turn. A creature cannot gain a morale phase after defending in their initial phase.
If two or more creatures on different sides of engaging armies have the same speed value, the creature on the army which did not have the latest chance to act will act first. This rule will apply in the same way throughout all three phases. However, there are two exceptions to this rule.
- In the first round of combat, the attacker will have the initiative.
- During a siege (town with at least Fort) the attacker will always moves first at the beginning of the round if the fastest creatures are tied.
Note that this rule in the morale-wait/wait phases leads to a situation, where the player that acted last "wins" the tie in a way, because during the wait phase, one usually wants to move later in the phase, not earlier.
If two or more creatures on the same side have the same speed value, the creature that started in the leftmost slot, will always move first. Or in other words, the unit that started nearest to the top of the screen (before tactics phase), will move first.
Formation[edit | edit source]
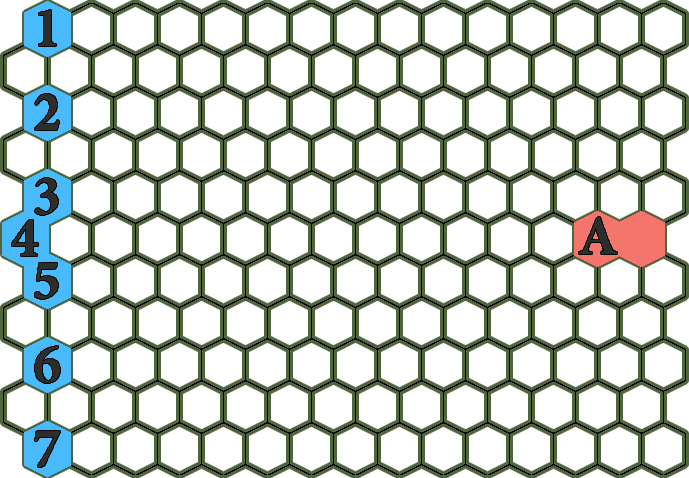
Formation is the starting position of your army in a fight/battle. The units are spread as evenly as possible from top to bottom without any blanks, regardless of how the units are arranged in your heroes unit bar (having units in spots 1,2,3 is the same as having them in 2,6,7)
There are 2 options for formation "loose" and "tight" and the option can be toggled on the hero screen.
As their names suggest this changes how the units are grouped on your side of the battle. Loose spreads the units out evenly from top to bottom. Where as "tight" will cluster them together at the center, leaving nothing at the top and bottom. If you have 1,6, or 7 stacks in your army, the formations coincide.
Loose has the advantage of spacing your units apart, making "splash" attacks from those dragons with breath attack or lich and their death cloud attack, and spells like fireball less likely to hit multiple units.
Tight has an advantage of grouping units tightly, and can help protect archers and ranged attackers.
When fighting Creature Banks, the hero's army will be arranged in a special way, forming a hexagon (or part of one) in the center of the battlefield, while the defenders of the bank will be arranged around the outside. Tight/loose and tactics have no impact on the formation of your army when fighting a creature bank.
Gallery[edit | edit source]
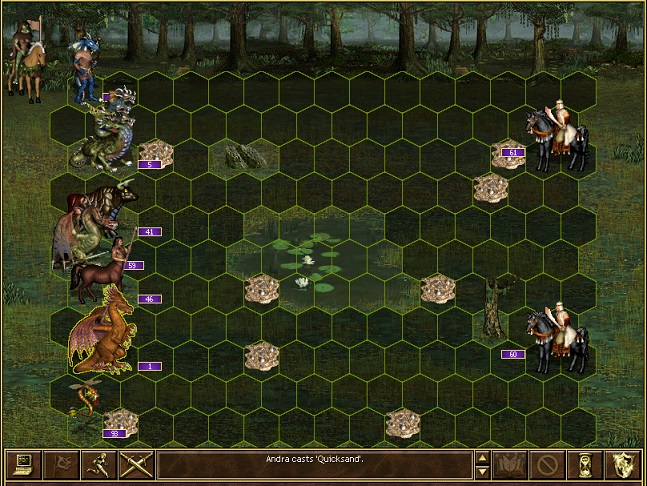
Screenshot from combat on swamp terrain. The hero has cast Quicksand.
Base combat grid against a single opponent
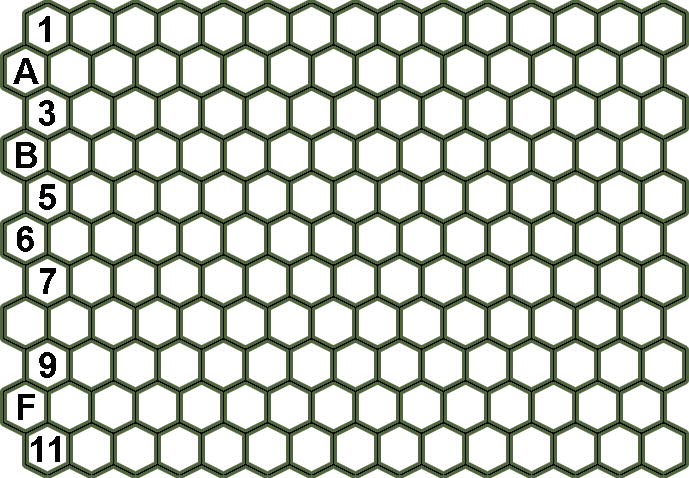
Army organization with War Machines
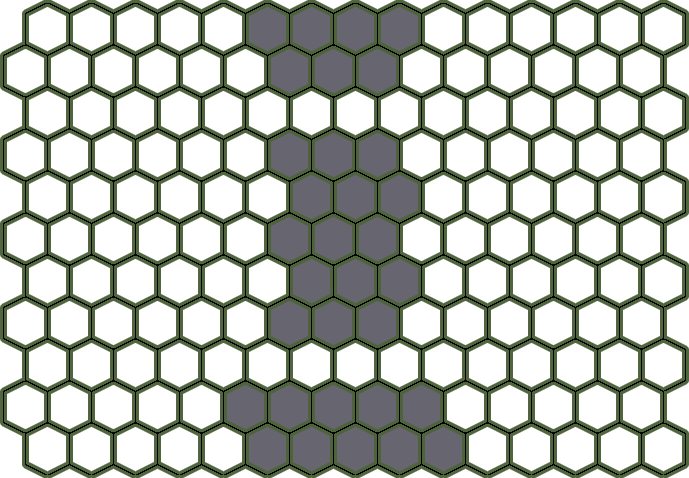
Ship-to-Ship combat grid
Gallery[edit | edit source]
- HC-00 Data-VIDEO VID-LBstart-bik-LBstart.webm
- HC-00 Data-VIDEO VID-Win3-bik-Win3.webm


