Combat
Combat is a general term for hostile encounters of a hero while wandering on adventure map. Combat takes place typically when a hero attacks wandering creatures, enemy heroes, enemy towns or certain adventure map locations (e.g. creature banks). A hero may also face combat if trying to pick up guarded artifacts or resources. Occasionally an event can trigger combat.
The purpose of the combat is to vanquish all enemy creatures, and the combat ends when either one of the armies are entirely destroyed, or when one of the heroes retreats or surrenders. Only heroes may retreat or surrender - wandering creatures, creatures guarding something or creatures in events cannot retreat or surrender. Wandering creatures may try to flee before the battle, but never during combat. Surrendering may occur only in a battle between heroes, but a hero defending a town cannot surrender (or flee). However, Stronghold has a unique building called Escape Tunnel, which allows defending hero to retreat (but not surrender).
Combat takes place on the battlefield, that is 11 rows of 15 hexagonal frames (hexes). Because size of most the creatures is one hex, a creature with speed of 13 can traverse across the battlefield to attack another creature stack directly opposite to that creature. Additionally, a creature with a speed of 19 can traverse diagonally from one corner to its opposite corner.
Tactics Phase[edit | edit source]
The Tactics Phase occurs just before combat starts. The phase occurs only if a hero has Tactics, unless both heroes possess the same level of Tactics, in which case the phase is skipped as the skill levels cancel each other out. The hero with the highest level of Tactics may arrange their troops before combat begins however they want (in accordance with their proficiency in Tactics). During this arranging, the hero cannot cast spells, but may retreat or surrender.
Order in Combat[edit | edit source]
Combat proceeds in rounds. Each round is divided into three virtual phases:
- Initial & Defend
- Morale & Wait
- Wait
These three phases occur every round in this chronological order. The main key for determining the order is their speed; rules for ties are described below.
Default Cases[edit | edit source]
In the initial phase, the creatures with the highest speed value activate first. Upon their activation, a low morale is checked. If it does not trigger, the player can act with the creature in following ways:
- Move
- Attack/shoot
- Use a special action (some creatures only)
- Defend
- Wait
- If the creature's side has a hero, the hero can cast a spell (once per round).
First three actions can also trigger a high morale (after resolving possible counterattack). In that case, the creature can immediately act again under the same rules, only that Waiting leads to second phase (instead of third) and high morale cannot occur again for it in this round.
Defending grants them a 20% bonus to their Defense rating (after bonuses and spell effects) and skips the rest of their turn. A creature cannot gain high morale after defending in their initial phase.
Waiting postpones the creature's move to the wait phase, where the creatures will act in the ascending order of speed.
A hero may cast a spell only right after activation of one of their creatures, just once per round. After the spell is cast, the creature can act normally. Spells which change the order of creatures (speed change or disables) will cause the order to be updated immediately, but the current creature will not be overtaken.
In the second and third phase, the creatures move in the ascending order of speed.
The second phase occurs only for creatures which acted in initial phase, got high morale, and then waited. The units naturally cannot wait again.
Creatures acting during third phase can still get morale.
As the speed order is reversed, the last unit of this phase will act near the beginning of next round, allowing for hit-and-run-tactics.
Ties[edit | edit source]
- Ties between sides: If two or more creatures on different sides of engaging armies have the same speed value, the creature on the army which did not have the latest chance to act will act first. This rule also carries between rounds. If it is the beginning of the battle, the attacker will have the initiative.
- Ties on the same side: Creatures in the leftmost slots (so nearer top of the screen at a start of regular combat) act first.
Note these rules rule applies in all phases equally, so a player which acted last can still "win" the tie in a way during the waiting phase, as one usually wants to move later in that phase, not earlier.
War Machines[edit | edit source]
During siege combat, the round starts with the Arrow Towers (main, then top, then bottom), and the Catapult attacking, respectively. If the player can control them, then they can be set to wait (starts at beginning of waiting phase), while defense provides no bonuses.
After that, the order is as usual - unit with the highest movement speed activates, with the exception that in case of a tie, the attacker starts each round.
Ballista and First Aid Tent act last as they have 0 Speed.
Disabling Abilities[edit | edit source]
Blind and similar effects (such as Paralysis) cause units to skip their turn. If the effect is removed and the unit has not yet moved in that round, its turn will be placed in the next appropriate slot in the turn order relative to its Speed.
Formation[edit | edit source]
Formation is the starting position of your army in a fight/battle. Units are spread as evenly as possible from top to bottom, with the topmost position being filled by the leftmost creature in the hero's army (and vice versa). Gaps in the army slots are consolidated. For example: having units in slots 1/2/3 is the same as having them in slots 2/6/7.
The 2 options for army formation can be toggled on the hero screen. This changes how the units are grouped on your side of the battle. If you have 1, 6, or 7 stacks in your army, toggling between formations makes no difference as to how the units are placed on the battlefield.
- Loose spreads the units out evenly from top to bottom
- Tight clusters the units together in the center of the player's side of the battlefield
Loose has the advantage of spacing your units apart, making "splash" attacks from those dragons with breath attack or lich and their death cloud attack, and spells like fireball less likely to hit multiple units.
Tight has an advantage of grouping units tightly, and can help protect archers and ranged attackers.
When fighting creature banks, the hero's army will be arranged in a special way, forming a hexagon (or part of one) in the center of the battlefield, while the defenders of the bank will be arranged around the outside. Tight/loose and tactics have no impact on the formation of your army when fighting a creature bank. The exact formations are shown on respective creature bank's page.
Siege[edit | edit source]
Siege combat is a special type of combat in Heroes III where the defending player has some significant advantages including Arrow towers, a Moat, and Siege walls.
A Town must have at least a Fort structure built in order to use siege combat, and the defenses are substantially improved upon construction of the Citadel and Castle. If there is no fortification built in the town, there is a usual battlefield instead, as if the combat were outside a town.
- Attacking creatures will get stuck in a moat for at least 1 combat round. This can be bypassed with the Teleport spell or by breaking or "trapping" the drawbridge.
- Arrow towers can be incredibly effective in all stages of the game, due to their ability to bypass all ranged penalty and ignoring the defense stat of creatures.
- The attacking hero will always have the Catapult present. It can be destroyed only temporarily until the end of combat.
- Catapults will damage the walls once per turn (can be augmented by the ballistics skill.) Walls can also be damaged by Earthquake, Cannon
 and by the special ability of the Cyclops.
 - Flying creatures can fly over walls, but they will usually become high priority targets for defending melee creatures as well as the arrow towers.
- The center arrow tower does the highest damage, and usually will not be destroyed until the main walls have been significantly damaged.
- Several towns have enhanced moats. Most notably, the Fortress has a high-damage moat that is 2 hexes wide. The Tower has land mines in place of a moat, which can occasionally detonate several times as creatures walk over them, but are generally considered weaker than standard moats, because they do not hinder movement and are destroyed upon activation.
- A glitch can cause a player's army to attack itself. It requires having the hero placed at the entrance of an enemy town but without triggering an attack by moving here. This can be obtained by flying over the town (with Fly or Angel Wings) and stopping the movement right at the moment the hero is above the town entrance. Then triggering the siege of the town by using the space bar or the "revisit" button. The hero will count as both the attacker and the defender, with the player controlling both sides of the siege. This glitch is fixed in Horn of the Abyss.

Retreat[edit | edit source]
A player may retreat from (almost) any combat involving their hero, including before combat during their Tactics Phase. A player cannot retreat if either hero wields the Shackles of War or if the hero is defending in a siege (unless they are defending a Stronghold town with an Escape Tunnel or have the Diplomat's Cloak 
 ). The retreated hero retains their all of their artifacts, but loses their army. They will be immediately available to hire again in the player's Tavern (with one unit of their default stack). If a player retreats from combat, the retreated hero receives no experience from the battle. If the enemy has no units which survive after the battle (e.g. only summoned elementals), their hero is also considered as retreated.
- If a hero retreats on the 7th day of the week after their turn has passed, one of the player's Taverns slots will be filled with the retreated hero instead of a new hire.
Surrender[edit | edit source]
In hero-on-hero combat exclusively, a player may pay an enemy player gold to surrender, effectively vanquishing the player's hero as they retreat to their Tavern to be hired again in a similar way as in retreating. Unlike retreating, the surrendered hero retains their surviving army in addition to all of their artifacts upon recruiting them again. A player may only surrender if they have enough gold to do so. The amount of gold required to surrender is equal to half the recruitment cost of the remaining creatures in the hero's army, with any resources other than gold being excluded in the calculation. If the player does not have enough gold to surrender, then surrendering is impossible. The enemy may refuse a surrender, which continues the combat. In Horn of the Abyss the enemy cannot refuse a surrender.
- The gold cost of surrendering can be decreased with Diplomacy and the Ambassador's Sash, Diplomat's Ring, Statesman's Medal, and Diplomat's Cloak ., and Statesman's Medal.
AI Retreat[edit | edit source]
During a combat (including Quick combat), if the AI thinks the player is going to lose after the current move, the player might get a prompt if the player wants to retreat. If confirmed, the hero retreats, but if the hero also has enough gold to surrender, the follow-up prompt is if the player wants to preserve their army by paying the stated amount of gold.
Note that this might pop up even if the creature to move is an AI-controlled war machine (so without the specific skill). Same applies for enemy AI heroes, which however never surrender.
In most cases, AI will retreat based on its estimation of state of the battle, and value of the hero. Other than that:
AI will never retreat:
- When playing on easy difficulty, and has only 50% chance to consider retreating on medium difficluty
- If victory condition is "defeat hero X", and this is hero X.
- If player has no towns with tavern, or besieged town is the last one with the tavern.
AI will always retreat from failed siege if:
- AI is the attacker, and town has Fort
- Drawbridge is up and there are no destroyed wall sections
- AI has no flyers, shooters, or catapult
- All defending units are inside town walls
Hit & Run Ban[edit | edit source]
Only applicable when Horn of the Abyss is installed and in hero-on-hero combat.
- The attacker is forbidden to retreat or surrender in the first round of combat after casting a spell.
- The Diplomat's Cloak allows a hero to ignore this ban when surrendering only.
User Commentary
Retreating (or surrendering) is a good idea:
- When defeat is imminent.
- As a means to travel to a distant town, to be re-recruited there.
- To preserve artifacts which will otherwise fall into an enemy hero's hands.
- To preserve a powerful hero with strong stats, spells, or high level.
Surrender may be a good tactical move so as to move a hero briefly to a town close to a major battle or something else important, or simply to a safe place, if you don't have Town Portal spell. It works on its best with Tactics skill or if you have a right of first turn, and only if your hero has a right to lose (i.e. it's useless in most campaigns as the head character should be invincible, otherwise the game is lost).
To minimize chances of AI fleeing, try to predict on which unit's turn they are going to flee and make your units overtake it (Haste,Slow,Blind) right before it comes up.
Combat Grids[edit | edit source]
-
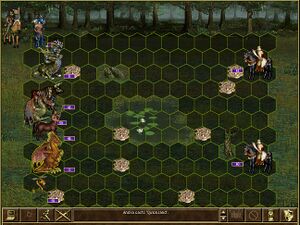 Screenshot from combat on swamp terrain. The hero has cast Quicksand
 -
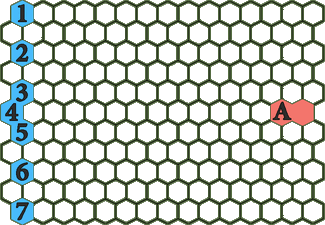 Base combat grid against a single opponent
 -
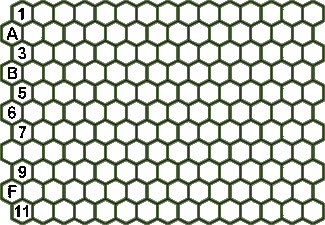 Army organization with War Machines
 -
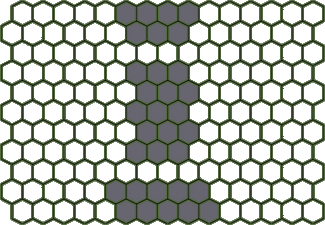 Ship-to-Ship combat grid


Battlefields[edit | edit source]
-
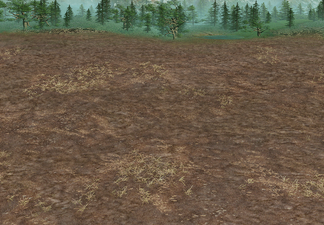 Dirt
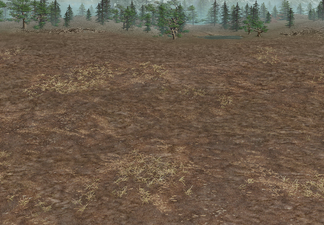
DirtDefault dirt battlefield.
-
-
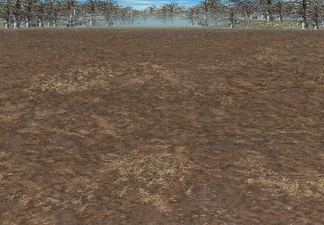 Dirt (Dead Trees)
Available when fighting on dirt with dead trees within 3 tiles of the combat tile.
-
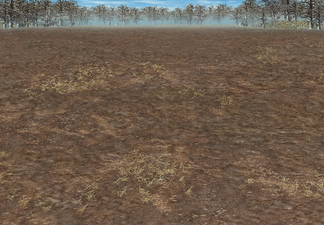 Dirt (Dead Trees)
Available when fighting on dirt with dead trees within 3 tiles of the combat tile.
-
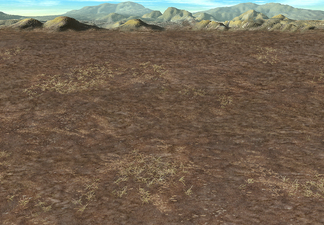 Dirt (Mountains)
Available when fighting on dirt with 2 dirt mountain tiles surrounding the combat tile.
-
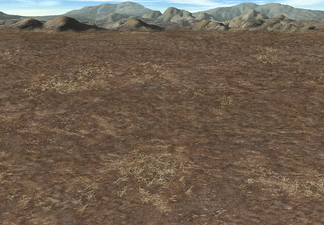 Dirt (Mountains)
Available when fighting on dirt with 2 dirt mountain tiles surrounding the combat tile.
-
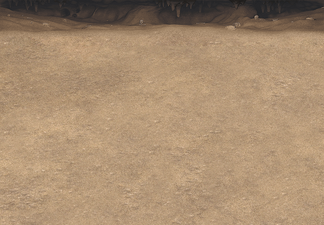
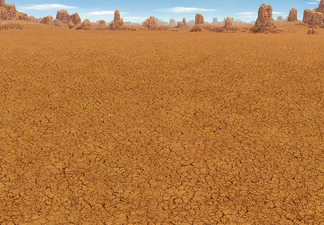
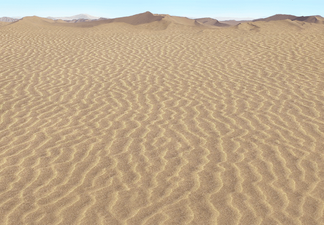
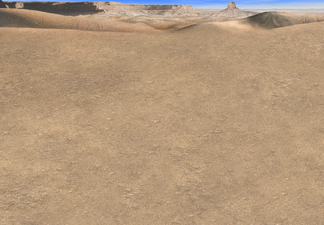 Sand
SandDefault sand battlefield.
-
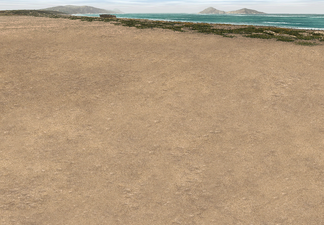 Sand (Beach)
Available when fighting on any terrain on a tile adjacent to water.
-
-
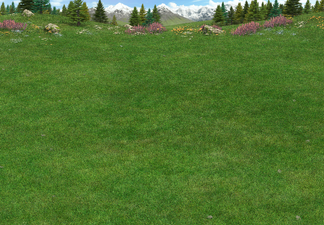
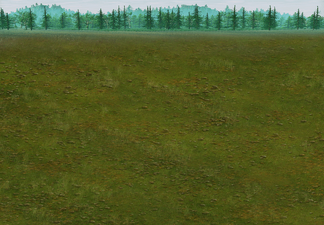 Grass
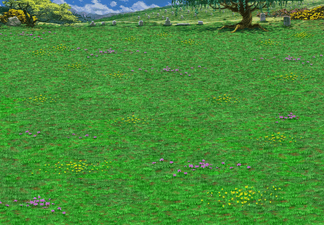
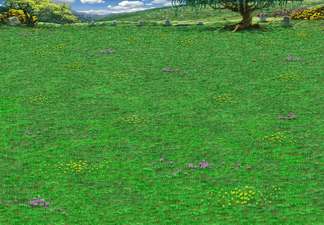
GrassDefault grass battlefield.
-
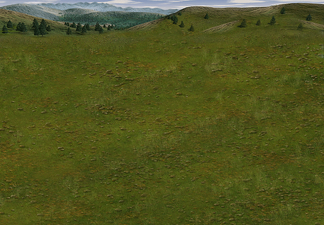 Grass (Mountains)
Available when fighting on grass with 2 grass mountain tiles surrounding the combat tile.
-
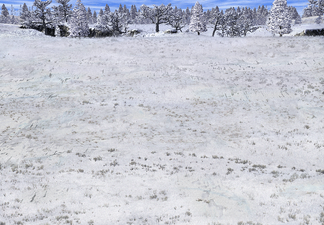 Snow
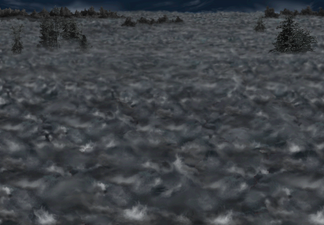
SnowDefault snow battlefield.
-
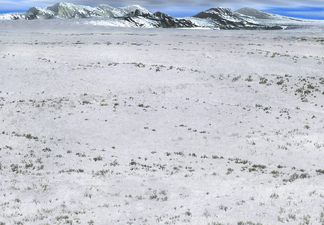 Snow (Mountains)
Available when fighting on snow with 2 snow mountain tiles surrounding the combat tile.
-
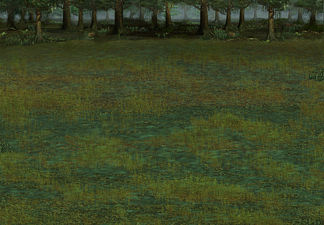 Swamp
SwampDefault swamp battlefield.
-
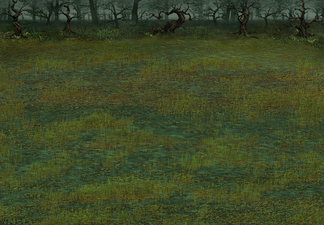 Swamp (Dead Trees)
Available when fighting on dirt with dead trees within 3 tiles of the combat tile.
-
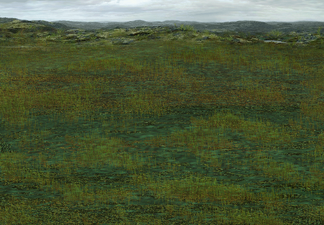 Swamp (Mountains)
Available when fighting on swamp with 2 swamp mountain tiles surrounding the combat tile.
-
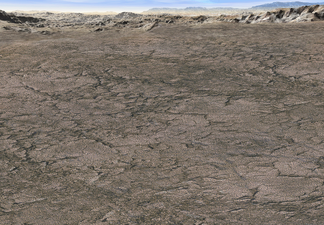 Rough
RoughDefault rough battlefield.
-
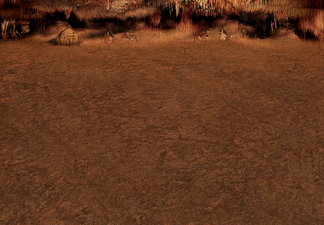 Subterranean
Default subterranean battlefield.
-
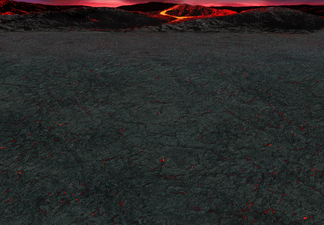
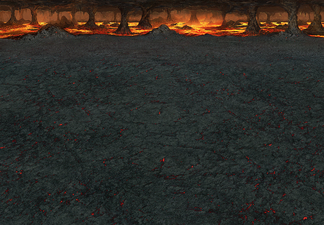
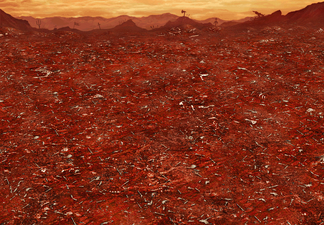
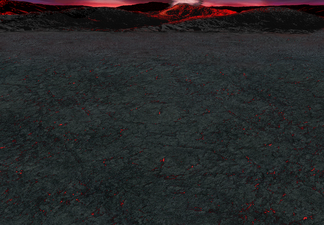 Lava
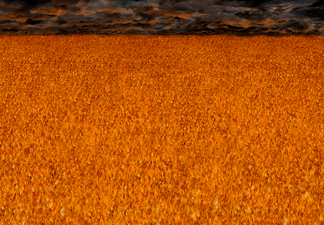
LavaDefault lava battlefield.
-
-
-
-
-
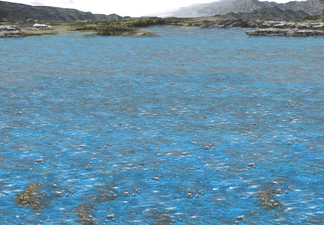
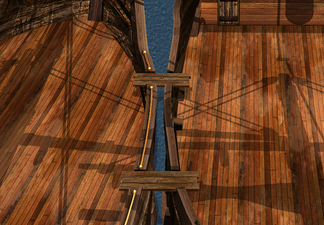 Boat
BoatAvailable when fighting an enemy hero while both heroes are in boats.
-
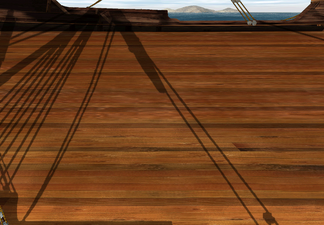 Boat (Deck)
Available when fighting monsters or adventure map locations on a boat, or when fighting an enemy hero in a boat while the player is on land.
-
-
-
-
-
-
-
-
-
-
-
-
-
-
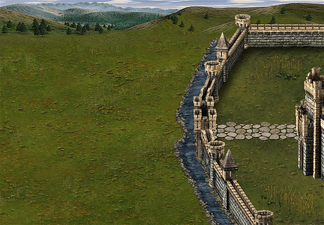 Castle Siege
 -
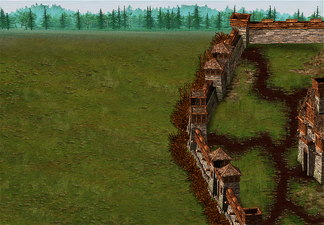 Rampart Siege
 -
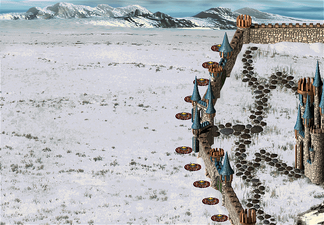 Tower Siege
 -
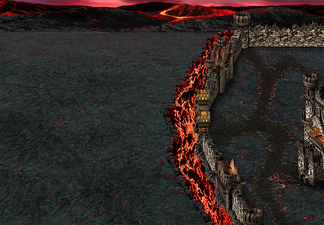 Inferno Siege
 -
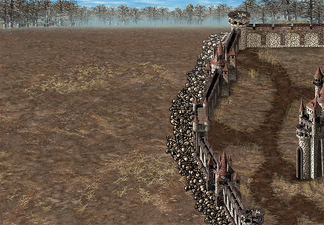 Necropolis Siege
 -
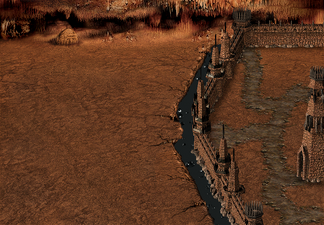 Dungeon Siege
 -
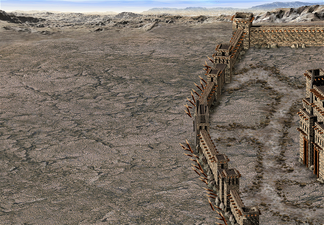 Stronghold Siege
 -
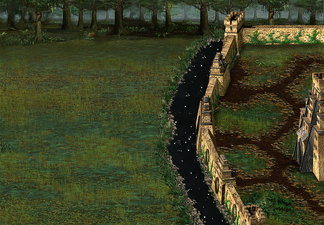 Fortress Siege
 -
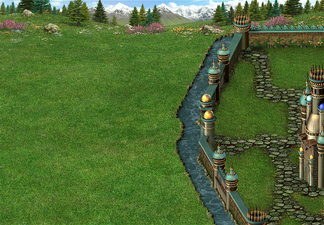 Conflux Siege
 -
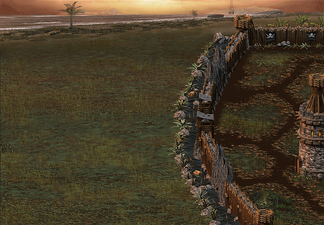 Cove Siege
 -
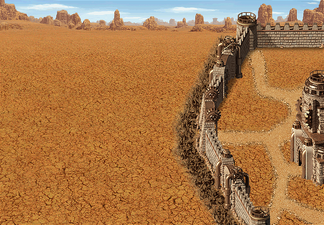 Factory Siege
 -
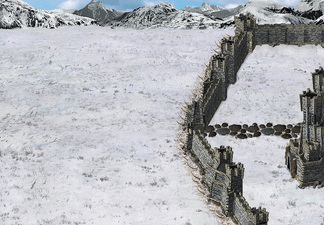 Bulwark Siege

.png)

.png)

.png)


.png)


.png)


.png)
.png)
.png)
.png)
.png)
.png)
.png)
.png)
.png)


Videos[edit | edit source]
-
 Combat Win
 -
 Combat Loss
 -
 Surrender
 -
 Retreat
 -
 Siege Win
 -
 Siege Loss


Audio[edit | edit source]
| Combat Themes | Win/Loss Themes | ||
|---|---|---|---|
| Media:Heroes 3 - Combat Theme 1.webm | Combat Theme 1 | Media:Heroes 3 - Combat - Won.webm | Combat Won Theme |
| Media:Heroes 3 - Combat Theme 2.webm | Combat Theme 2 | Media:Heroes 3 - Combat - Lost.webm | Combat Lost Theme |
| Media:Heroes 3 - Combat Theme 3.webm | Combat Theme 3 | Media:Heroes 3 - Combat - Retreated.webm | Retreated from Combat Theme |
| Media:Heroes 3 - Combat Theme 4.webm | Combat Theme 4 | Media:Heroes 3 - Combat - Surrendered.webm | Surrendered in Combat Theme |
| Media:Heroes 3 - Combat - Town defended.webm | Town Defended Theme | ||
| Media:Heroes 3 - Combat - Town lost.webm | Town Lost Theme | ||