Fortifications
| Fortifications | ||||||||
|---|---|---|---|---|---|---|---|---|
| Structure | Cost | Requirements | Benefits | |||||
 Fort |
5000  20  20 
|
• Village Hall | Adds walls to a town | |||||
 Citadel |
2500 5
|
• Fort | Adds moat and primary arrow tower to a town. Increases production of creature dwellings by 50%. | |||||
 Castle |
5000 10 10
|
• Citadel | Adds two secondary arrow towers, standard walls are strengthened to fortified walls. Increases production of creature dwellings by 100%. | |||||
As stated in the manual, castles provide increased security for towns. Fort adds wall to town's defenses. The wall is impassable by non-flying enemy creatures (without advanced Teleport spell), but has a drawbridge for defending creatures to pass through, back and forth if needed. Fort is a prerequisite for all creature dwellings. Additionally, building a Fort to a town changes the town's appearance on the adventure map.
The upgrade to Fort is Citadel, which adds primary arrow tower to town's defenses, and also adds a moat in front of the wall. An exception to this are Tower towns, which do not have a moat but instead building a Citadel adds several Land Mines in front of the wall. One of the greatest advantages of the moat is, that ground units end their movement to it, and cannot move further until their next round (see additional features Moat page). Note that this also works for defending creatures trying to get across the moat. Additionally, Citadel increases the creature dwellings' growth by 50%.
The final defense structure is Castle, which adds two more (secondary) arrow towers and strengthens the wall. The two arrow towers have half the strength of the primary tower added by Citadel. Further, production of creature dwellings is increased by another 50% for a total of 100%.
Types of fortifications[edit | edit source]
There are three different types of fortifications:
- Town walls, including Drawbridge
- Arrow Towers
- Moats
Fortifications strength[edit | edit source]
With the exception of the moat every part of the fortifications has a number of hitpoints which enable them to withstand only up to several attacks during a siege. Fortifications can only be damaged by:


The following table shows the number of hitpoints for each type of fortifications:
| Fortifications' hitpoints | |||
|---|---|---|---|
Fort |
Citadel |
Castle | |
| Wall segment (4 segments) | 2 | 2 | 3 |
| Drawbridge | 2 | 2 | 2 |
| Keep | - | 2 | 2 |
| Secondary Arrow Towers | - | - | 2 |
Targeting[edit | edit source]
Every catapult shot is resolved in two steps: first an intended target is chosen, then the game rolls whether the shot lands on it (see the chances at Ballistics). The Earthquake spell skips both steps and instead distributes its damage by lot.
There are eight targets in total: the four destructible wall segments, the Drawbridge, the Keep and the two secondary Arrow Towers. A target can only be selected while it still has hitpoints left, and the Keep and the secondary towers can only be selected if the town has a Citadel or a Castle respectively.
Aimed shots[edit | edit source]
A hero with at least Basic Ballistics aims the  Catapult himself, by clicking the wall segment, the drawbridge, the Keep or one of the secondary arrow towers. Targets that are already destroyed cannot be selected.
If the shot misses, it is redirected to the nearest intact wall segment, counted along the wall. The redirection is fixed rather than random:
- Upper Wall → Mid-Upper Wall, and Mid-Upper Wall → Upper Wall
- Mid-Lower Wall → Lower Wall, and Lower Wall → Mid-Lower Wall
- Drawbridge → Mid-Upper Wall or Mid-Lower Wall, with an even chance for either
- Keep → Lower Wall
- Upper secondary tower → Upper Wall, lower secondary tower → Lower Wall
If that segment is already destroyed, the next nearest intact segment is used instead. If no wall segment is left standing at all, the missed shot hits the intended target anyway. At Expert level the catapult always hits, so redirection never happens.
With Advanced or Expert Ballistics both shots are fired at the same target. If the target is destroyed by the first shot, the second one is re-aimed at the nearest target that still stands, of any type.
Automatic shots[edit | edit source]
The catapult aims itself when the hero has no Ballistics, when the town is attacked by ai PLAYER, when the Catapult combat option is set to automatic, and during quick combat. Destroyed targets are skipped in all cases, and misses are redirected exactly as for aimed shots.
Without Ballistics the catapult fires at the wall segment with the fewest hitpoints remaining. If several segments are equally damaged, one of them is picked at random, so an undamaged wall is shot at random in the first rounds. Only when all four wall segments are destroyed does it turn to the drawbridge, then to the Keep, then to the secondary towers.
With Ballistics — that is, AI-controlled hero, or an automated catapult belonging to a hero who has the skill — the drawbridge is targeted first as long as it stands. Afterwards the catapult keeps firing at the walls while all four segments are still intact; once any segment has been destroyed it switches to the Keep, and then to the secondary towers, and only returns to the walls if nothing else is left.

 Cyclops and Cyclops King use the same "fewest hitpoints remaining" rule, and always attack a wall segment, never the drawbridge or a tower.
Earthquake[edit | edit source]
The spell deals its damage one point at a time — two points at Basic, three at Advanced and four at Expert — and each point is assigned at random among all eight targets that still have hitpoints. There is no chance to miss, and several points can land on the same target, so at Expert level a single cast can destroy a wall segment and damage another one, or finish two segments at once in a town without a Castle.
The selection does not check whether a tower is actually built: the Keep and both secondary arrow towers are counted as valid targets in a town that only has a Fort or a Citadel. This is what causes the disabled defender described at Earthquake.
Targets are examined in a fixed order: the upper secondary tower, the Upper Wall, the Mid-Upper Wall, the Drawbridge, the Mid-Lower Wall, the Lower Wall, the lower secondary tower, and the Keep last. All points of a cast are assigned before any damage is applied, so this order always covers the targets that were standing when the spell was cast. For each point the game counts the targets that can still take damage, but then picks one by counting through every standing target in the order above, including those that have already been assigned their full hitpoints. As a result, as soon as one target has been assigned enough damage to destroy it, the targets at the end of the order — the Keep first — drop out of the lottery for the remaining points of that cast, and a point can instead land on a target that is already going to be destroyed, in which case it is wasted.
Adventure map[edit | edit source]
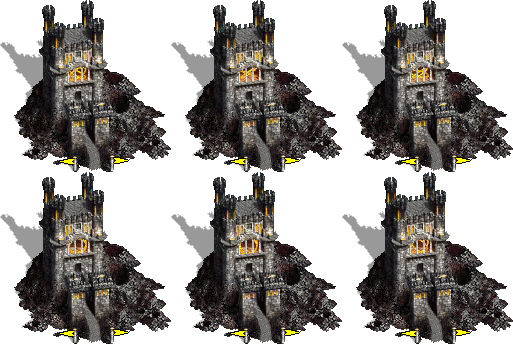
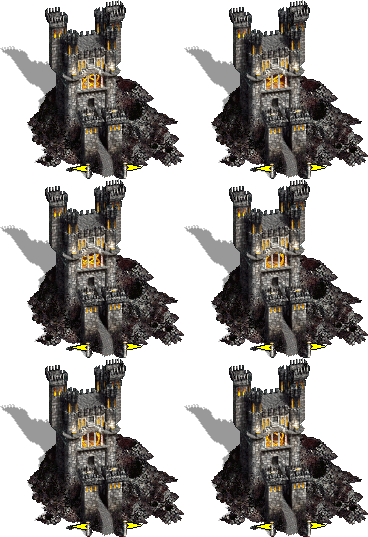
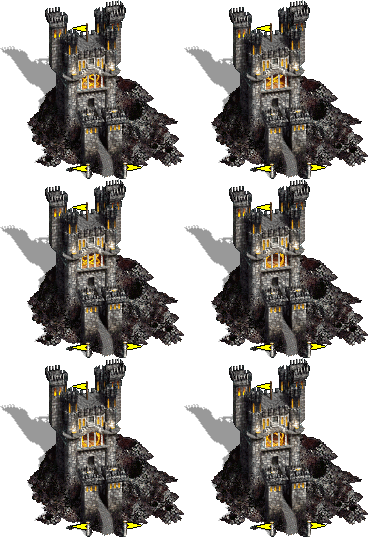
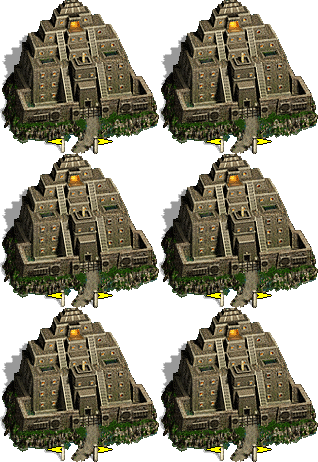
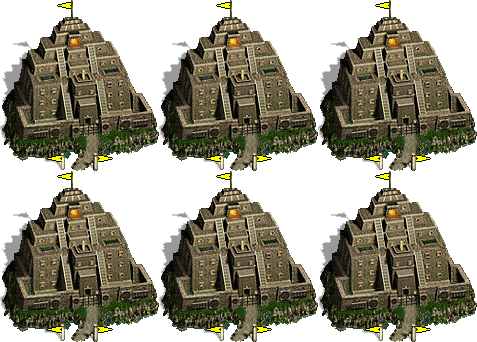
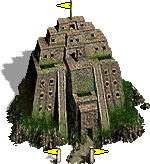
In The Shadow of Death there are just three visual appearances of a town: Village, Fort and Capitol (as a Fort with a flag). But the exact fortification level (fort/citadel/castle) always can be checked by an icon in the rightclick menu (the hall level is visible just for allies).
Horn of the Abyss represents towns accurately to their level of fortification.
 
|
 Village |
Fort |
Citadel |
Castle |
 Capitol |
|---|---|---|---|---|---|
 
|

|
.gif) 
|
.gif)
|
.gif)
|
.gif) 
|
 
|

|
.gif) 
|
.gif)
|
.gif)
|
.gif) 
|
 
|

|
.gif) 
|
.gif)
|
.gif)
|
.gif) 
|
 
|
.gif)
|
.gif) 
|
Media:Adventure Map Inferno citadel (HotA).webp | Media:Adventure Map Inferno castle (HotA).webp | Media:Adventure Map Inferno capitol (HotA).webpMedia:Adventure Map Inferno capitol.webp |
 
|

|
.gif) 
|
.gif)
|
.gif)
|
.gif) 
|
 
|

|
.gif) 
|
.gif)
|
.gif)
|
.gif) 
|
 
|

|
.gif) 
|
.gif)
|
.gif)
|
.gif) 
|
 
|

|
.gif) 
|
.gif)
|
Media:Adventure Map Fortress castle (HotA).webp | Media:Adventure Map Fortress capitol (HotA).webpMedia:Adventure Map Fortress capitol.webp |
 
|
.gif) 
|
.gif) 
|
.gif)
|
.gif)
|
.gif) 
|
 
|
File:Adventure Map Cove village.webp | File:Adventure Map Cove fort.webp | File:Adventure Map Cove citadel.webp | File:Adventure Map Cove castle.webp | File:Adventure Map Cove capitol.webp |
 
|
File:Adventure Map Factory village.webp | File:Adventure Map Factory fort.webp | File:Adventure Map Factory citadel.webp | Media:Adventure Map Factory castle.webp | Media:Adventure Map Factory capitol.webp |
 
|

|

|

|
File:Adventure Map Bulwark castle.webp | 
|


In-town appearance[edit | edit source]
  |
 |
 |

|
  |
 |
 |

|
  |
 |
 |

|
Media:Adventure Map Inferno capitol (HotA).webp |
 |
 |

|
  |
 |
 |

|
  |
 |
 |

|
  |
 |
 |

|
Media:Adventure Map Fortress capitol (HotA).webp |
 |
 |

|
  |
 |
 |

|
| Cove |  |
 |

|
| Media:Adventure Map Factory capitol.webp |  |
 |

|
 |
 |
 |

|